How to Divide and Re-Plant Irises for Healthy Blooms
Summer is on its way, and it won't be long before the irises are blooming. If your plants seem a bit crowded this year, it's probably time to divide them. Gardening expert Melissa Strauss walks through the correct way to split up your irises.

Contents
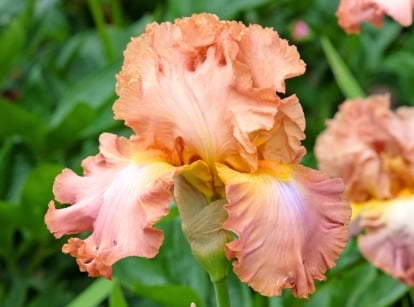
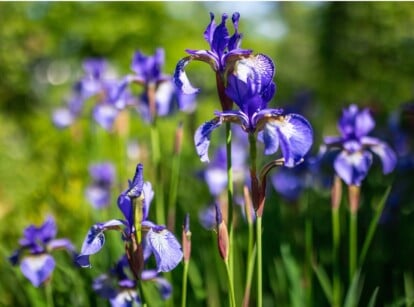
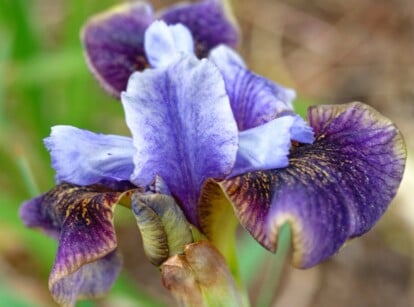
From the delicate dwarf crested to the spectacular bearded, irises are charming and fanciful. Their unique and distinct flower forms make them easy to recognize, and if you’re willing to snip a few stems, they make incredible additions to cut flower arrangements.
In the garden, they are tall, stately, colorful additions to your flower beds. There is a wide range of species and flower shapes and sizes, primarily blooming in spring and early summer. However, some are repeat bloomers, bouncing back in late summer for another performance.
These plants have fascinating historical and cultural significance in many parts of the world. They’re easy to grow, and they multiply over time, forming clusters of attractive foliage and tall, beautiful stems that hold up their eye-catching blooms.
That cluster-forming habit is what I’d like to talk about, as over time, they can become crowded. While you will still get popping up in the spring, if there are too many coming from the same rhizome, you may see fewer or weaker flowers. The plants have to work overtime to support all that foliage.
The solution to this is to divide your rhizomes every two to three years. Not only will this produce heartier plants, but it will also increase the overall number, producing a much more robust colony over time. Let’s talk about dividing your iris roots for bigger, stronger, healthier plants.
Step 1: Wait For the Right Time

For most irises, the division process is the same. However, the timing varies according to the species. Most varieties grow from rhizomes. These include bearded, Japanese, and Siberian, as well as most others. A few types, like Dutch, grow from bulbs.
We often group these two types of roots together, but they have some distinct characteristics. Rhizomes are fibrous roots that grow horizontally. They look like woody stems, with individual plants popping up every few inches.
Bulbs, on the other hand, are smooth, individual structures that look like onions. Bulbs reproduce by creating offsets, which are their own separate bulbs. We’re going to focus on dividing rhizomes here, but the process is similar, though slightly less complicated, with bulbs.
Timing is an important factor in splitting up your plants, as you never want to do this while they are in bloom. You will cut short the life of the flower this way. There are also some bearded types that bloom only once, at the end of spring or the beginning of summer, while others repeat bloom, producing more flowers at the end of summer.
It’s important to know which type you have so that you don’t make your divisions too soon. If you do, you could miss out entirely on that second bloom.
For single bloomers, most will finish flowering in early to mid-summer. Dividing them at this time will give your divisions ample time to establish roots before next winter. For repeat bloomers, it’s good to wait until early fall. Time it so that as soon as they finish, you get it done. This way, they will have time to set down roots before it gets cold and they go dormant.
Step 2: Use the Right Tools

Before you start dividing irises, you’ll need to collect a few tools to get the job done. First, a small shovel or garden fork will help you lift the roots out of the soil without damaging them. You’ll also want a sharp knife, though sharp shears will work in a pinch.
Make sure, as always, that your tools are clean before you set about your work. Make sure that your shears or knife are sharp, as well. The sharper they are, the easier your cuts will be, and the cleaner they will be. You don’t want to saw away at the rhizome leaving a jagged cut that will take longer to heal.
Step 3: Dig Up the Entire Plant

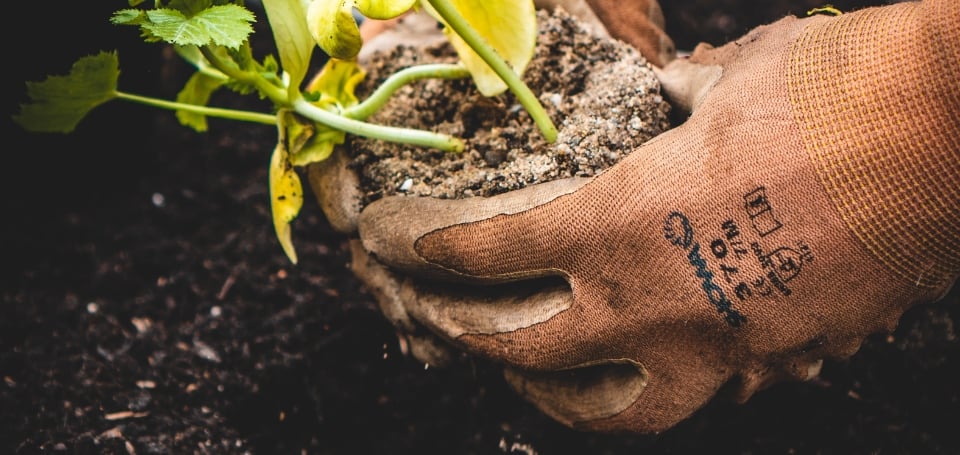
Using your small shovel or garden fork, dig all the way around the clump of irises to begin dividing. Give yourself enough space so your tool won’t accidentally slice into the rhizome. You want to loosen and lift the roots, working them loose from the soil.
Once you have defined the root system, gently lift it out of the ground with your hands. Use your hands to brush off and work any soil loose from around the rhizome and base of the plant.
Step 4: Give Them a Rinse

After you dig them up, break apart the soil caught up in the roots. Depending on your soil type, this may be simple or require a bit of effort. In clay-heavy soil, it will naturally take a little more effort, whereas loamy soil should fall away more easily.
Then, clean the roots with water to rinse off any soil left on them. This makes it possible to see the rhizome so that it will be easier to make your cuts. Don’t worry about scrubbing them squeaky clean, just rinse of the dirt that comes away easily.
Step 5: Cut the Foliage Back

You can handle the foliage now or wait until after you’ve divided your irises. I prefer to do it ahead of time because it makes them easier to handle. Long, floppy leaves can get tangled and make them more complicated and bothersome to deal with.
Identify the fans of leaves. The clumps from each plant grow in a fan-shaped cluster with overlapping edges joined at the base. Each individual plant will have its own fan. Cut these back to about six inches long to make them easier to work with.
Examine the roots to see if there are any broken or torn portions. Trim these off, as they no longer function for the plant, and they will ultimately rot, which can spread and infect the healthy root tissue.
Step 6: Divide the Iris Rhizomes

For this step, you may need a knife or shears. I say you may need them because, sometimes, the plants break apart easily, but sometimes it takes some cutting to separate them.
Examine the cluster of roots and identify any old portions that no longer have any green growth. These are no longer necessary, so you can cut or break them off and discard them. These are growth from previous years, and they won’t bloom again.
Examine the rest of your clumps and identify sections where the fans of green growth appear. Each fan will be its own plant. You can usually work these clumps apart with your hands, but some may be more tightly intertwined.
As you work the divide the iris rhizomes apart, be gentle with the roots, trying not to break them as much as possible. Some are going to break, and you don’t need to worry much about this. It’s impossible to do this without snapping a few roots. Just make an effort to work them apart without tearing.
Optionally, bring a bucket of fresh water with you and place the roots of each healthy division in it. This will help keep them hydrated, and hydrated roots are more adaptable.
Step 7: Re-Plant Right Away

Some gardeners prefer to dry their rhizomes and re-plant them in the fall. I recommend putting the irises right back in the ground after you divide them so that they have plenty of time to acclimate before the winter.
Iris rhizomes like to sit close to the surface of the soil, so you don’t need to bury them deeply. The leaves should sit completely on top of the surrounding soil, not buried at all.
Digging up those plants should loosen the soil nicely, making it easier to replant them. Clear out just enough soil to place the roots without sinking the rhizome down deeply. Then, gently fill in around them and firm the soil around the base. Water them in, but be careful not to overdo it; irises don’t like wet soil.
Step 8: Keep Up With Care

Irises are not heavy feeders, so they don’t need frequent fertilizing. Avoid adding too much mulch, as this can hold moisture in and potentially rot your rhizomes. A light covering is fine, but don’t feel like you need to lay it on thick because the rhizomes are shallow.
Water your newly divided irises deeply but infrequently. They are sensitive to overwatering. Allow the soil to dry between waterings. Established plants rarely need supplemental water except in times of prolonged drought.


